DIY Christmas Village Stand
Materials
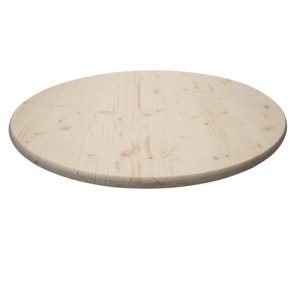
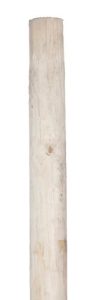
Wood
- wood rounds, each one slightly larger than the next
- wooden dowel (length depends on how tall you want your stand and a medium to large diameter)
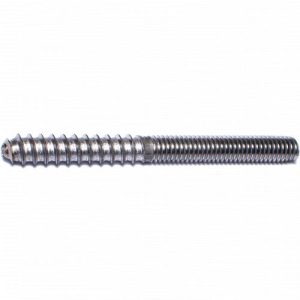
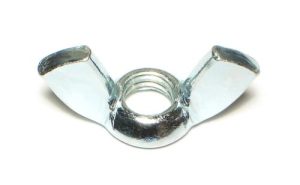
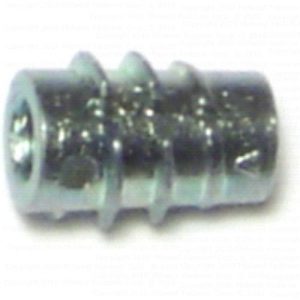
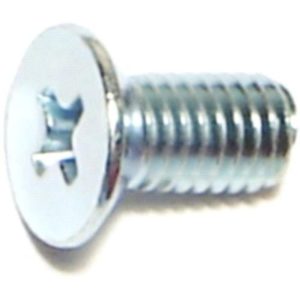
Hardware
- Hanger bolts
- Insert nuts
- Washers
- 1 flat-head bolt
- Optional: wing nut (for the top)
Optional Decor
- Greenery or garland
- Small decorative tree (for the top)
Tools
- Drill
- Drill bits
- Saw (if cutting your own rounds or dowel)
- Tape measure
Step-By-Step Instructions
Step 1 — Cut or Buy Your Wood Rounds
Choose wood rounds, each one larger than the last. You can cut your own or buy pre-cut pine rounds. You can also paint or stain them any color you want. If you get tired of that color you could always sand and repaint or restain another color .
Step 2 — Find the Center
Hack #1 — Find the Center of a Round Fast
If you don’t have a center-finding tool, place any straight board across the round and draw a line. Rotate the round a little, repeat at least three or 4 times and where the lines cross is the center.
Step 3 — Drill Center Holes
Drill a hole straight through the center of each wood round
Step 4 — Cut Your Dowel
Cut your dowel to the height you want between levels. About 12" per section is perfect.
Step 5 — Add Hardware to the Dowel
Drill a small hole in one end of the dowel and install the screw side of your hanger bolt.
On the other end of the dowel drill a hole a little smaller than your inset nut. To drill your insert nut in you can buy a bit called a EZ lock driver to drill these in with a drill. You can also find helpful videos on You Tube that give helpful hints about this. Use a little wax on the outside of the nut to help it go in smoother.
Step 6 — Attach the Bottom Round
Put a flat-head bolt through the bottom of your largest round. You may want to put some feet like cutting board feet or skid pads on the bottom board. This lets the stand sit flat on a table or floor.
Screw the dowel side with the insert nut onto the bolt in that round.
Step 7 — Stack the Levels
Slide the second round down onto the bolt sticking up from the dowel.
Then screw on the next dowel. Repeat until you reach the top.
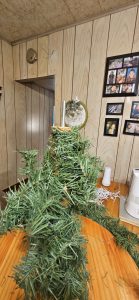
Step 8 — Top it Off
For the top, you can tighten a washer + wing nut, OR screw in a decorative Christmas tree like I did.
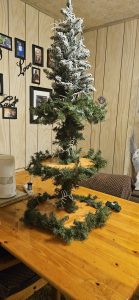
Finished Project
Your Christmas Village stand is ready to decorate! Add houses, snow, trees, lights — anything you love.

Variations
Here are other ways to use this stand:
- Cupcake tower
- Hot cocoa bar display
- Candle stand
- Ornament display
- Birthday dessert tower
I hope you have lots of fun with this. Remember it does not have to be perfect. And you can decorate it different for many years to come.